How to use scapy in Python
This tutorial explains how to use scapy in Python in the ubuntu platform. Follow the steps to import scapy into Python.
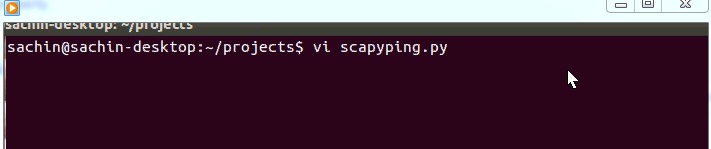
1. The first step is create a Python file on the platform. Here we are using the Ubuntu platform. A python file file named scapyping.py is created. Note that the name of the file is irrelevant and you can have any name you want.
The file is created from the command line as shown in the below screenshot.
2. The second step is to import scapy into the file. This is done using the command from scapy.all import *. It should be ensured that scapy is installed before it is imported. This is shown in the below screenshot.
![]()
3. The above two steps ensure that scapy framework can be used with Python.
4. Once imported, you can create any network scripts or tools. For example, an ICMP header which is available in scapy can be created inside the Python file as shown in the below screenshot.
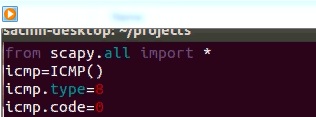
The code creates an ICMP packet. The type value of the packet is 8 and the code value is 0. This is the ICMP parameters to create a ping packet.
Scapy is used in Python to create different network scripts and tools for purposes like network testing, security testing, custom packet crafting and more.
————————————————————————————————————————
Check out our course Python Scapy Network Programming and Automation Course on Udemy
The course will teach you how to use Python with scapy to create custom network tools and scripts for various purposes like network testing, protocol testing, automation and more. The course explains with source code and examples of different types of network scripts and tools.
The course is available on udemy platform. The details of the course can be checked out here – Python Scapy Network Programming and Automation Course
Check out our tutorial on How to build ARP packet with Scapy.